Winter Gear Tips & Gift Ideas (for yourself or others)

Hiking in the snow, Pheriche, Nepal.
Want to go hiking in the winter but think it’s too cold? Nonsense! It’s all about putting that mind over matter (and wearing a bunch of layers). Below are some suggestions for what to wear (&/or what to give or ask for when considering those holiday gifts). I’d venture to bet that you probably already have most of this gear and the rest isn’t so expensive as to stop you from making tracks.

Bring all the layers — hat & gloves, scarf or a Buff, warm socks and gaiters to keep out all the drafts.
Tip 1: Layer up! From your head down to your feet.
We don’t really lose 80% of our body heat through our heads, but when it’s chilly out, it sure feels much better to protect your ears and face from the wind. If you live in the northeast, by all likelihood, you already have a knit hat and scarf and that should suffice. In lieu of a scarf, you can opt for a balaclava or a Buff (multifunctional headwear). They aren’t as bulky as scarves and can be easily raised and lowered over your nose when needed.
The three basic layers you’ll want to wear on top when the temps drop are a base layer, an insulating layer and an outer, or shell layer, to keep out the wind and the wet. Wear synthetic materials like polyester blends or natural materials like wool or silk which retain the ability to insulate when wet. Clothes made of cotton are never recommended because they take way too long to dry after getting wet from sweat or snow and will not keep you warm in the interim.
For hands, gloves are a must. Depending on the outside temp, and your body, you may want to opt for mittens, or a combo of glove liners and mittens. If you’re someone that suffers from Reynaud’s or just tend to get cold hands, bringing along some single-use hand warmers like HotHands will help keep that circulation flowing.
For legs and feet, an insulating layer and an outer layer will usually suffice. But check the weather before you hit the trail – if there’s a lot of snow, you may want to add rain or snow pants to the mix. When doubling up on socks, make sure you still have room to wiggle your toes in your shoes. That little bit of space actually traps in warm air and helps keep those toes toasty. Top off those toes with some waterproof or insulated boots. For ultimate protection, add in gaiters (ankle covers) to keep snow from sneaking down into that space between your boots and your ankles – brrr!
Tip 2: Start early.
The sun sets early this time of year. To help prevent being out past dark, it’s simple – just get an earlier start. It may mean waking up and traveling to trail while the sun is still rising, but it feels much better to be back inside with a warm hot chocolate (or hot toddy) when that sun sets, rather than still be out there scrambling in the dark at 4:30 in the afternoon. Also consider a shorter hike than what is typical for summertime. Winter conditions don’t always allow for speedy travel, so play it safe and keep it short.

Morning on Big Bald, Appalachian Trail, NC/TN border.

Bring all the pointy things to help stop yourself from slipping on slick ice and snow - trekking poles with snow baskets & metal on your feet.
Tip 3: Hike in spikes & use other pointy things.
The trails can get slick when it’s icy and snowy out. Use trekking poles to help stabilize you on slippery surfaces. In deeper snow conditions, swap out the small trekking pole baskets that come with your poles, for larger snow baskets that help keep your poles from sinking in too deep.
Unless you’re summiting mountains at high altitude, it’s unlikely that you’d need big and heavy crampons to fit over your boots, but a great addition to your winter gear kit are YakTrax and/or MicroSpikes. By easily attaching these to the outside of your hiking boots, the metal coils and spikes will help to make your steps solid and prevent slips and falls.
Tip 4: Insulate your drinks and be sure to keep on sippin’.
I’ve known since I was a kid that water freezes at 32º F, but I can’t tell you how many times I’ve gone to take a sip from my hydration bladder on a winter hike and ended up with tube full of ice. Keep water and sports drinks warm by using insulated bottles or hydration bags and by keeping them close to your own body while moving. As an alternative, you can boil water pre-hike and carry it in a small thermos or BPA-free water bottle. Depending on the length of your walk and the outside conditions, it should stay warm for at least a few hours (and will help to keep you warm if you keep it close to your core.
Remember too to take sips of water throughout your hike. When it’s cold out we naturally feel less thirsty, but it doesn’t mean we’re not getting dehydrated while we exercise. Set a reminder on your phone or watch for every 10-15 minutes to take a sip.

Boil water for your bottle in the morning before you hike to stay warm all day.
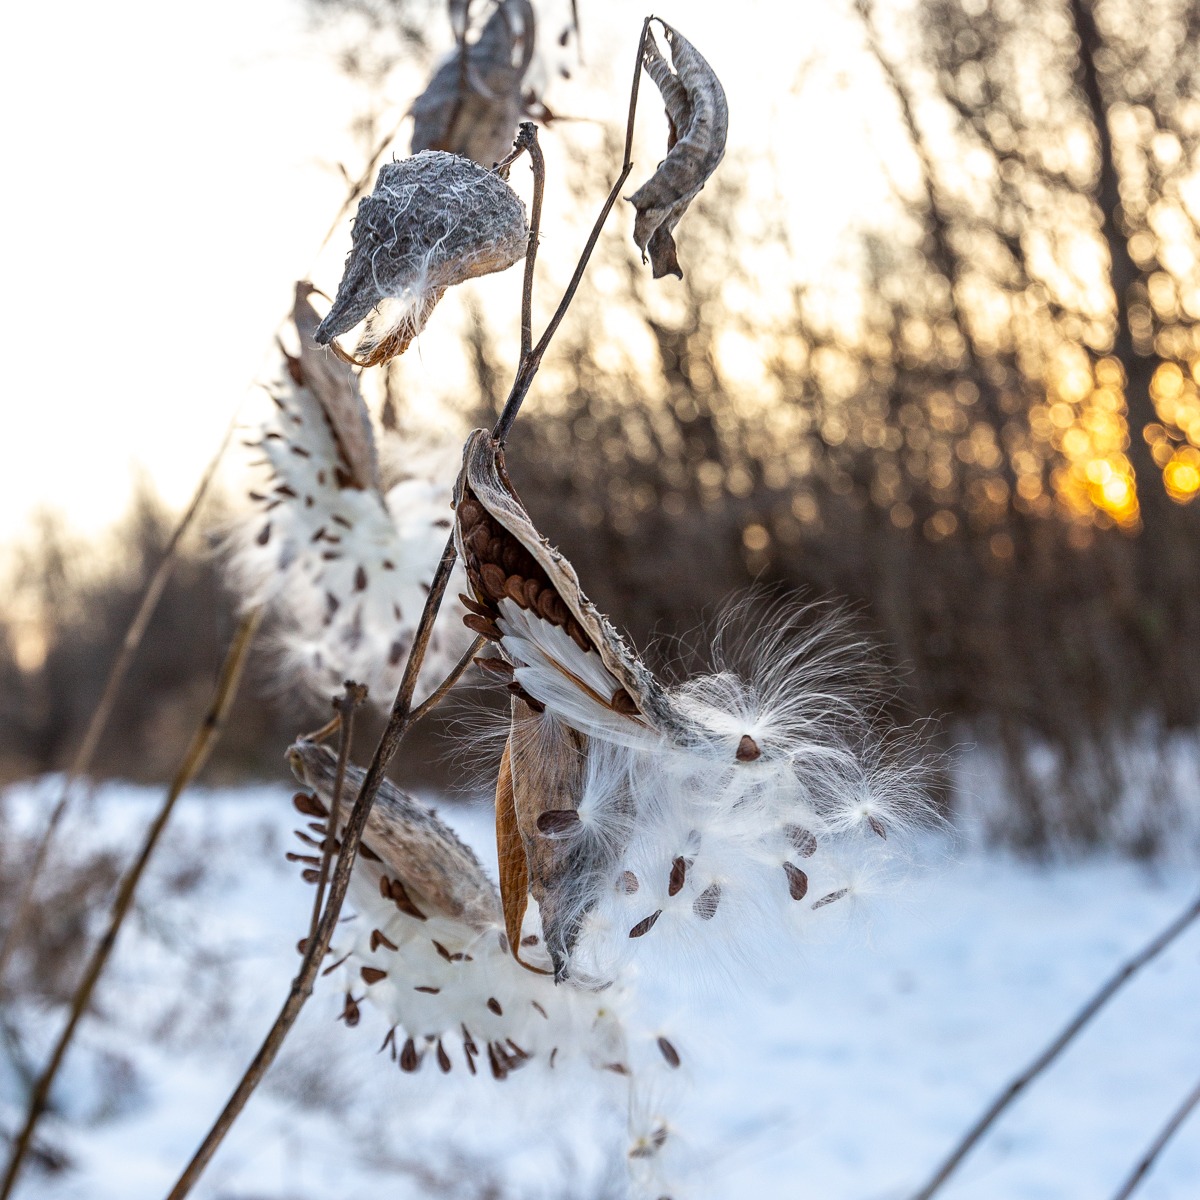
Milk pods in winter, Black Creek Park, Rochester, NY.
Tip 5: Enjoy the silence.
The biggest benefit to hiking under the bare trees is the peace and quiet. Not as many people are as badass as you and therefore, you’ll often get the trails to yourselves when you decide to go out for a hike in the winter. Relish it. Listen for the soft sound of your steps on fresh snow. Look up and see the views that may have been blocked by leaves earlier in the season. Smell that neighboring house’s woodstove and look forward to curling up inside after a hard-earned day of adventure.